Table of Contents
When cutting rocks, it’s important to remember that each one has its own unique hardness. Some are brittle and easily broken, while others are so hard they can scarcely be scratched by anything other than diamond-tipped tools. Rocks cut by a tile saw could include jade, quartz, marble, granite and basic limestone.
There are different types of saw available in for different types of surfaces like chain saw or circular saw. It is possible to cut rocks with a tile saw if you use the right techniques and the right tools. Rocks range in hardness from extremely hard crystalline minerals such as diamonds, quartz etc. to relatively soft rocks such as pumice, scoria etc. The majority of rocks fall into a category of their own, with characteristics that lie somewhere in the middle of the hardness scale. Rocks such as limestone and sandstone, along with many others like these, can be cut with a tile saw provided you know what you’re doing and have suitable equipment to do it with.
How to cut rocks with a tile saw
You will require:
- Correct blade for the material
- A diamond cup wheel;
- A misting bottle/hose.
Procedure to cut rocks with tile saw step by step
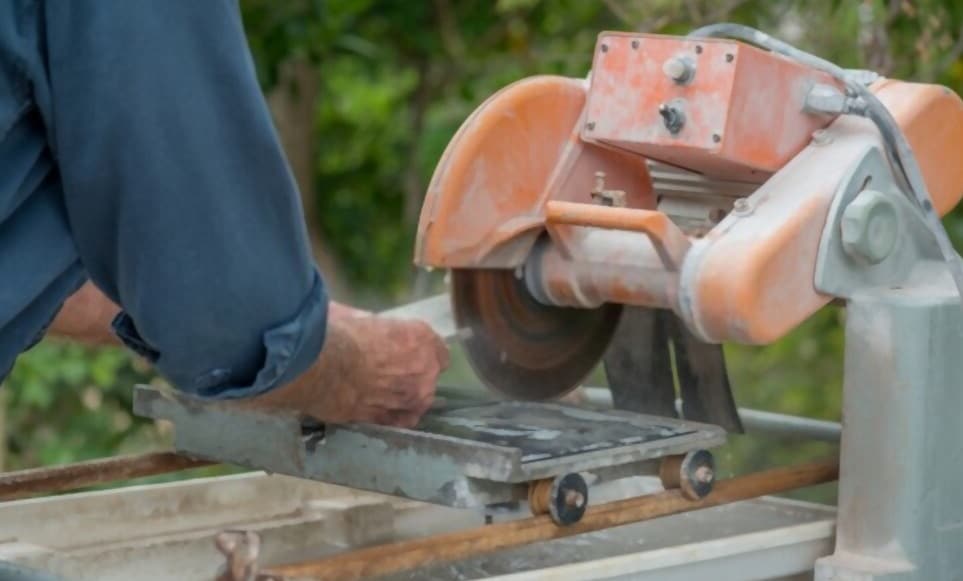
1. Secure the rock to a cutting platform using masking tape. The base of the saw’s blade should ideally rest upon a flat surface, but this isn’t always possible if you’re working with irregularly shaped stones that don’t easily lie level on a solid table or bench. In such cases, secure your rocks firmly in place by attaching them to a piece of plywood or masonry board with masking tape.
2. Fit the blade. Change the saw’s blade if necessary to suit the type of rock you plan to work on, bearing in mind that some rocks are harder than others and require a blade made from high-grade steel with an extra-hardened cutting edge for best results. You can also use a diamond blade if you want to cut through the rock in question more quickly and easily than with a standard blade.
3. Turn on the saw and wait for it to stop rotating, then adjust the height of the saw’s splitter so that it rests 4-5mm above the edge of the tile.
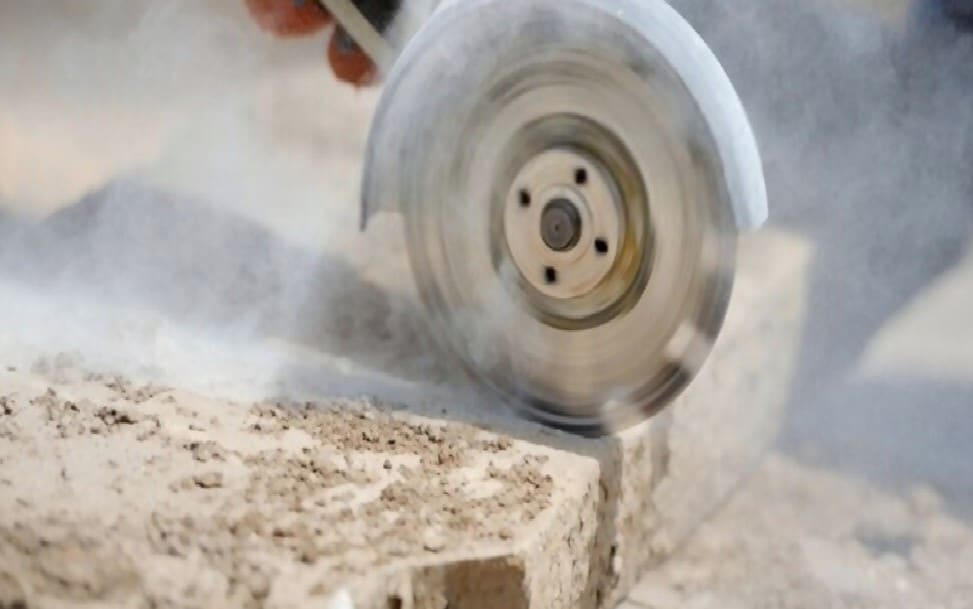
4. Start the saw and carefully begin feeding the rock into its cutting path, in a direction parallel to that in which the blade is rotating in order to minimize chances of kickback occurring. Pull the rock through the spinning saw blade in one smooth movement, allowing it to move with no resistance. If you find your blade becoming clogged, reduce your feed rate.
5. When you have cut through the rock, rotate it in front of the machine’s cutting wheel so that you can make a second pass at its opposite side to ensure neatness.
6. Switch off the saw when crucial parts of its blade become hot to touch, or when water starts leaking from its power cord.
7. Clean the rock using a medium-grade sandpaper and a flat block to ensure that both its cut face and the groove surrounding it are smooth and even to the touch. If necessary, increase pressure on the sandpaper or use a finer grade to achieve results that meet your requirements exactly.
8. Use a diamond cup wheel to polish the rock’s cut face and create a bright, shiny finish. Working from left to right, apply moderate pressure at all times in order to avoid overheating the stone and causing its surface to scorch or discolor.
9. Spray the polished side of the rock with water every few seconds during this stage in order to keep it cool and prevent its surface from cracking.
10. Allow the polish to dry completely, then spray both sides of the rock with water in order to rinse away any remaining sanding residue. The tile is now ready for use in whatever application you choose.
Tips and Warnings
If the rock you’re working on is large or awkward to cut, use a diamond cup wheel to polish its edge first in order to create a smooth surface that’s easier for the tile saw to pass over.
Blades with wavy edges are designed specifically for cutting rocks and other hard materials like marble and quartzite, so choose one of these if you plan to work on particularly difficult stones.
If you want to cut through a rock quickly, use a diamond blade; not only are they harder than standard blades but they also stay sharp for longer before requiring replacement.
Concentrate on feeding your rocks safely into the tile saw’s blade by pulling them through it in a smooth, continuous motion. If your blade becomes clogged with material, reduce its feed rate until it’s spinning freely again.
Make sure the tile saw is switched off and disconnected from a power source before you move a rock or adjust its cutting height, as well as before attaching blades using the screwdriver supplied with your unit.
Don’t touch the spinning blade with your bare hands, as doing so could result in a serious injury. Additionally, never touch its moving parts while they’re switched on—this is a safety rule that should always be followed to reduce the risk of accidents occurring.
If you’ve been working for several hours without taking a break or stopping to rest your arms, stop what you’re doing immediately and take a break before continuing. This advice is especially important if you suffer from conditions that leave your muscles or joints stiff, such as arthritis.
Make sure you keep an eye on your tile saw’s power cord every time you use the machine, ensuring it never comes into contact with water or moisture in any form. Doing so could cause an electrical short circuit, which poses a significant risk of injury.
The tile saw should always be used on a level surface that’s free from moisture and debris in order to prevent the machine from slipping or tipping while you’re working with it. Additionally, never leave your tile saw switched on while unattended—doing so increases the risk of accidents occurring.
Conclusion
Cutting rocks with a tile saw is relatively straightforward once you know what you’re doing; however, to ensure your safety and the quality of results it’s essential that you follow all the instructions outlined in this article.
It’s equally important to use the right tools when cutting rocks with a tile saw—as demonstrated here at 1st-in-homecare, this means using diamond blades and diamond cup wheels. With the right levels of preparation and care taken while cutting rocks with a tile saw, it’s possible to achieve any required degree of accuracy or precision—and reap the rewards of completing your task safely in the process.